Adding Employees Pro / Solo
Every person who will use the kiosk to clock in needs an employee record. The record stores their name, role, pay rate, and the 6-digit PIN they'll use at the kiosk.
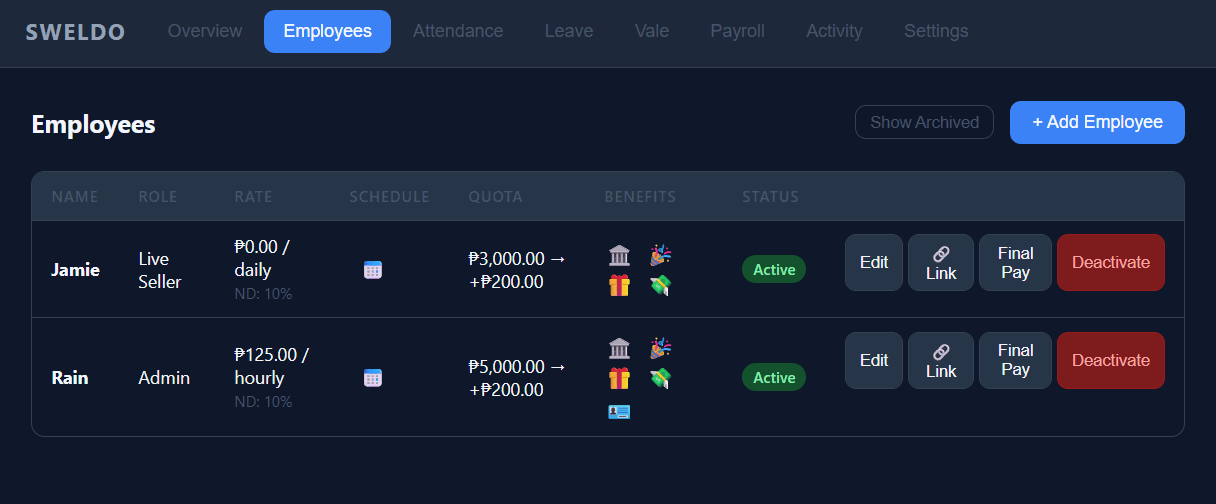
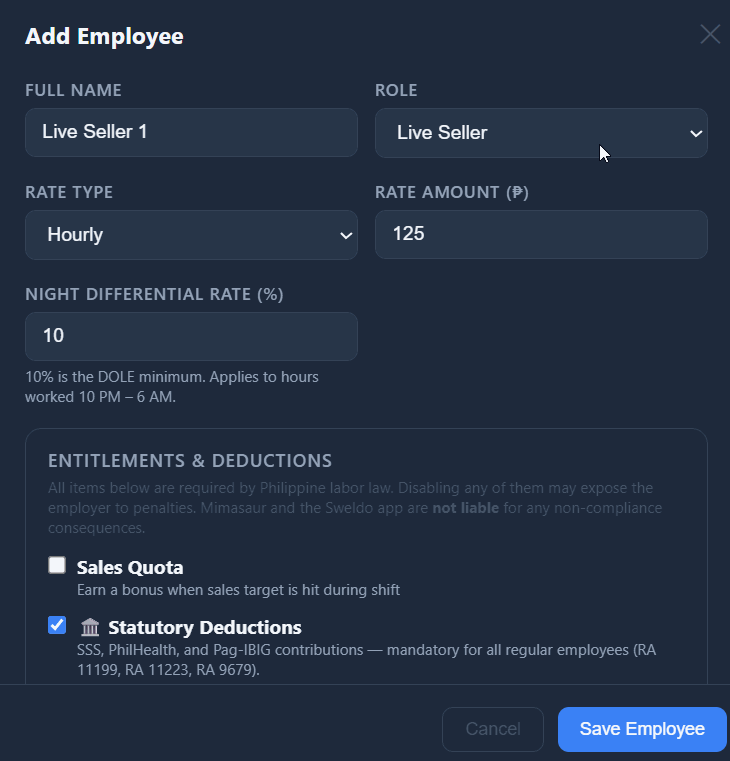
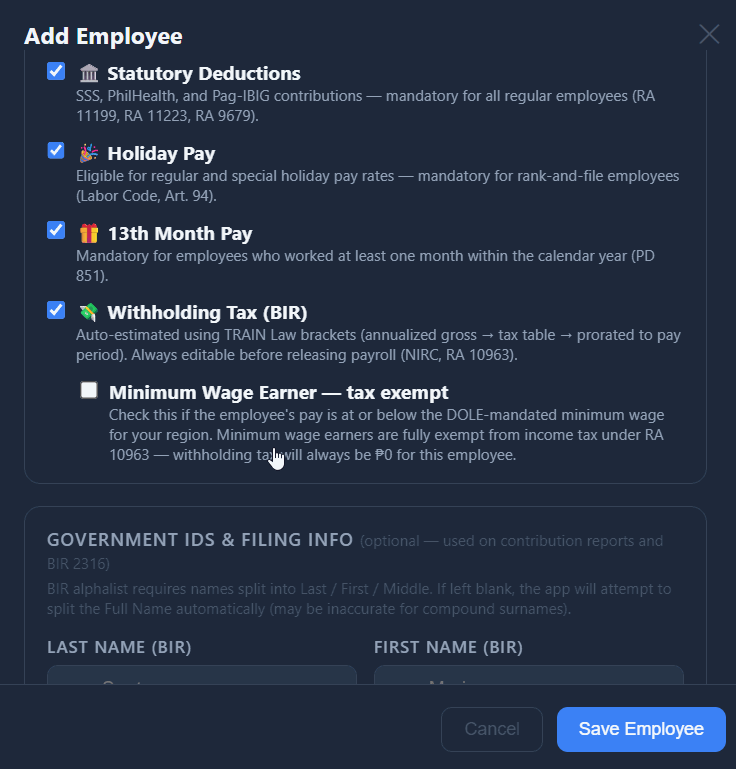
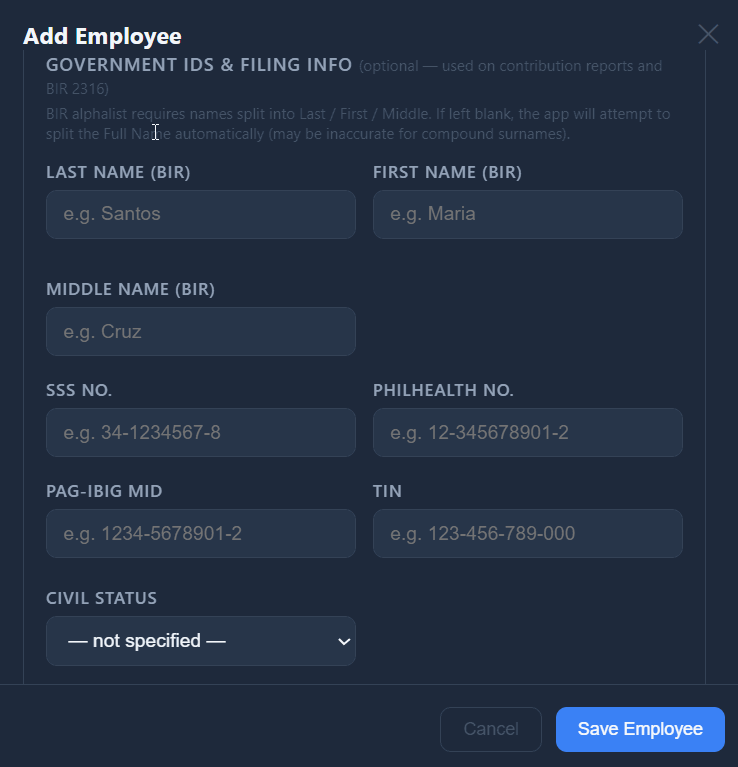
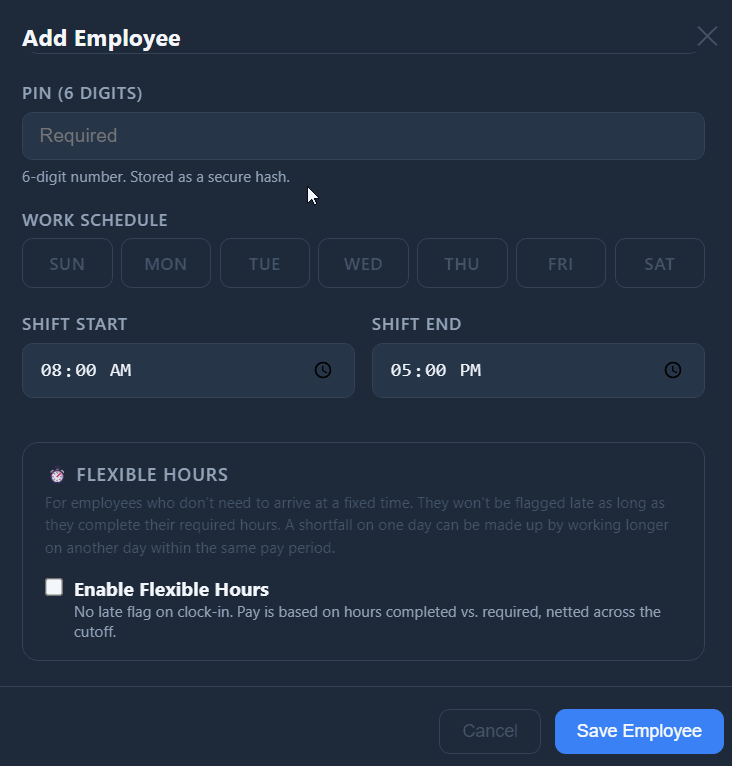
Go to the Employees tab in the Sweldo admin panel and click + Add Employee.
Enter the employee's full name. This is what appears on the kiosk grid and on payslips.
Choose their role:
- Admin — store owner or manager
- Live Seller — the person doing the TikTok live; their clock-in/out also updates the active seller on Tagasulat sessions
- Packer — fulfillment staff
- Staff — general
Set the rate type and rate amount:
- Daily rate — the employee earns a fixed amount per day worked (e.g., ₱500/day). This is the most common type for store staff.
- Hourly rate — the employee earns per actual hour clocked (e.g., ₱70/hour). Useful for part-time workers.
For a daily-rate employee the app works out an hourly figure by dividing by 8. This is used for late deductions, overtime pay, and night differential.
Set a 6-digit PIN. This is what the employee types at the kiosk to clock in or out. Choose something they can remember but won't guess easily. The PIN is stored scrambled — nobody, not even you, can read it back. Forgotten? Open the employee and set a new one.
Click Save. The employee immediately appears on the kiosk grid the next time the page is loaded.